
I've been so involved with trying to get my website up and running--correctly, thank goodness--that I really haven't been blogging anywhere. Here or on Blogger. In fact, I've pretty much abandoned Blogger for good. If you go there, you'll find my last post is really just the instructions and links to get here. Thank you for coming! Hang out while, won't you?
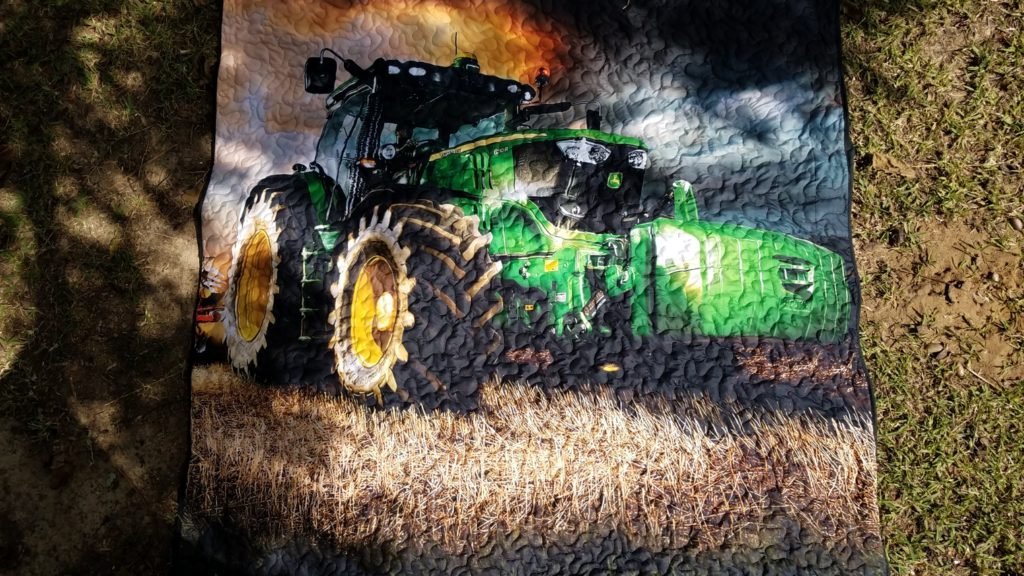
In the meantime, I had a customer quilt to work on. It was actually a duvet that she purchased and wanted me to turn into a quilt. My original idea was that I'd stuff the batting in, smooth it out, then load it and quilt away. Nope. That duvet had other ideas. Richard watched me (lets say he tried to help) struggle until I was mad, winded and sweaty. You know how I hate to be sweaty, right? It was getting pretty rough inside that duvet. Yes, at one point I actually climbed in.

He had a suggestion. I tried it. He helped, for real, this time. That duvet was having none of it. We struggled and fought and I decided that the end was happening. But first I'd rip it apart. Yes, that's exactly what I did. Rip it apart. Load it up like a real quilt using the top and bottom pieces and adding the batting like a regular quilt. Then came the cranky part.

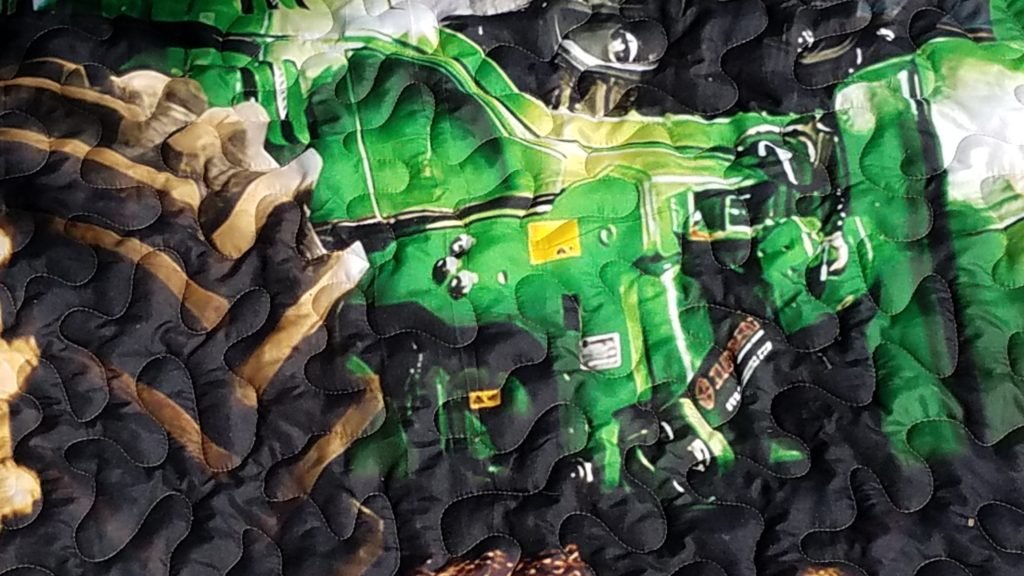
Can you see the shredded piece of thread? It would eventually break, but sometimes I caught it early enough to cut it and save time rethreading the machine beginning at the tension all the way to through the needle.

That duvet simply wanted to be a duvet. But, hey, I'm a persistent chick. The thread problems were unreal. The screen-print had some sort of ink that simply hates needles and thread. Can you believe this? I regularly had to cut the thread, pull the shredded part through the machine, and rethread the needle. And the ink just ate at the needles. They would get dull and then chop through the knit-like fabric. It took days. And patience. Yes, lots of patience. Then I had to add a binding because the edges were raw, but the binding was the easiest part of all. How about that for those of you who hate binding?

In the end, we parted company, except it left in a whole new form. And Crystal was happy with her quilt, which was to be a birthday gift for her little boy. Plus, I learned a valuable lesson: stick to my cottons!
I hope you're having a fabulous week! Our niece is getting married on Saturday and we're excited to be able to attend her wedding. That will be a fun little getaway that I'm especially looking forward to.


